Hello, in this blog we will continue the email server installation/setup.
In our previous post we instructed about the assets we purchased from GoDaddy and DNS configuration to resolve to our server.
In this post we will install the SSL certificates in our server so we can use them to encrypt and secure our https and email traffic.
To accomplish this you will need:
- OpenSSL software to generate private key and certificate signing request (CSR)
- SSL certificate available to be Set Up in GoDaddy
- SCP software to transfer files through the ssh (like pscp)
Generating the private key and CSR using OpenSSL
Execute using the command line:
You will be prompted to provide information that will be present in the certificate to authenticate you and your company as the issuer:
- Country Name (2 letter code) [AU]: MX
- State or Province Name (full name) [Some-State]: Chihuahua
- Locality Name (eg, city) []: Ciudad Juarez
- Organization Name (eg, company) [Internet Widgits Pty Ltd]: Inspiracode
- Organizational Unit Name (eg, section) []: software development
- Common Name (e.g. server FQDN or YOUR name) []: inspiracode.net
- Email Address []: diego.torres@inspiracode.net
This process will generate 2 main files:
- A private.key file: This file is like your password, please save it in a secure place and don't share it with anyone. You will have to transfer this file later to the server, so the server can be capable of negotiate SSL transactions.
- A request.csr file: This file is your formal request for signing the certificate, you will share the contents of your Certificate Signing Request (CSR) with your Certification Authority (in my case, I will share this contents with GoDaddy).
In GoDaddy, we will request for signing the SSL certificate using the CSR file:
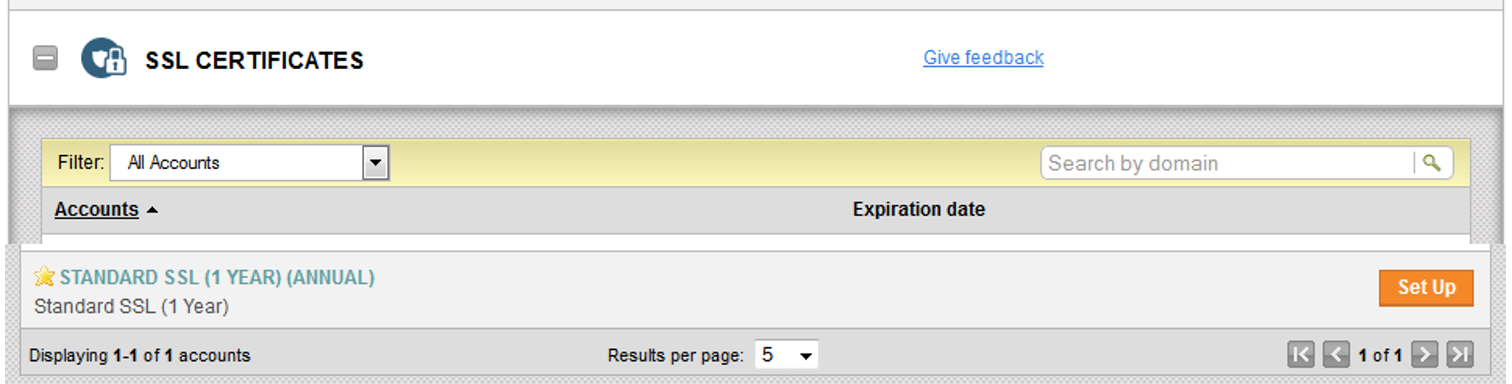
- Open "My Account" in GoDaddy and scroll down to the SSL Certificates section
- Expand the SSL Certificates section and you should see an available certificate for "Set Up", click the "Set Up" button
- You will see now a new certificate available in the SSL Certificates section, click the "Launch" button
- The Certificates section will open, click on "Set Up" for your SSL certificate
- Open the request.csr file with a notepad, copy the contents and paste them in the text area for CSR
- Read and agree the terms and conditions of the "Subscriber Agreement"
- Click the "Request Certificate" button
You will be redirected to the certificate evaluation results and if everything went good with your domain verification, you will be able to download the certificate. One of the questions that the verification process will do is: Does the domain belongs to you or anyone else? If it belongs to another person, that person will be asked for permission for the certificate to be generated.
When you download your certificate, you will receive a zip file containing 2 files:
- A GoDaddy bundle certificate (gd_bundle-g2-g1.crt)
- A certificate file named with the serial number of your certificate ([certserialnumber].crt)
Unzip the contents in your machine and let's transfer those certificate files to your server:
- Use the scp command to upload the certificate (the one named with the serial number) to your server.Basically, the scp command will work like this:$ scp [origin] [destination]
[origin] and [destination] can be either a local file, in which case you will use a reference path to reach the file you are transfering like: "/path/to/file" or they can be remote locations. In the case of a remote location [origin] and [destination] will have these parts: user@server:/path/to/resource. In my case I'm transferring my certificate 2b6db4c267ac13.crt to the inspiracode server:
$ scp 2b6db4c267ac13.crt user@inspiracode.net:/home/user/
you will be prompted for certificate sharing for ssh session and password.- Use the same method used to upload the private.key file
Now we have to Move the certificates files to a shared location so the apache server has access to them.
- Use an ssh tool to login to your server and create a directory to store your certificates, I'm creating the directory "/certs/":$ sudo mkdir /certs/
- copy the certificates to your just created directory:
$ sudo cp ~/private.key /certs/private.pem
$ sudo cp ~/2b6db4c267ac13.crt /certs/public.pemNote that when I'm creating a copy of my certificate files I'm renaming them to private.pem and public.pem, this is just for a more clear reference in the following configurations.
In the next post we will install and configure postfix and dovecot, and we will also configure the SSL secure traffic for email and http content. - copy the certificates to your just created directory: