In previous posts we Listed the assets that we are using to setup the server, uploaded the encryption certificates and installed the email server components.
In this post we will enable SSL encryption for HTTPS and will test the email client (Outlook).
To enable SSL encryption for the https traffic in apache we first instruct apache to listen to port 443:
# line 42
Listen 80 #already here
Listen 443 #add if not included
Also, will setup our domain name so apache knows it:
# uncomment and setup:
ServerName inspiracode.net
Once we are listening to 443, the ssl configuration file comes to play with apache, so we will configure the certificates location in that file:
# Line 71
SSLEngine on# Line 101
SSLCertificateFile /certs/public.pem# Line 108
SSLCertificateKeyFile /certs/private.pem
Remember that in a previous post we generated and transfer those certificate files to /cert/ directory.
For the certificate modules to be loaded by apache, we will need to install these packages:
Next, we will force all http traffic to use the https:
# line 42
Listen 80
Listen 443<VirtualHost *:80>
RewriteEngine on
RewriteCond %{SERVER_PORT} !^443$
RewriteRule ^/(.*) https://%{HTTP_HOST}/$1 [NC,R,L]
</VirtualHost>
Finally we restart our apache server and https traffic will be enabled and forced:
navigation to "https://inspiracode.net", when tryign "http://inspiracode.net" we get redirected:
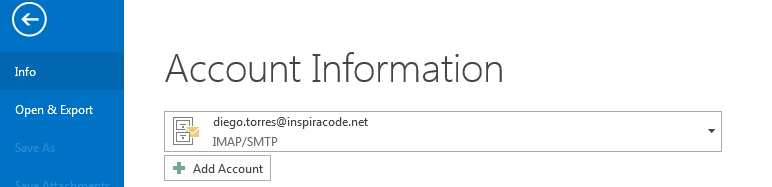
Now that we have encrypted secure traffic with our server it is time to setup an email account and configure our client.
First, we will create our account using Linux:

$ sudo passwd support
#setup the new password for support user
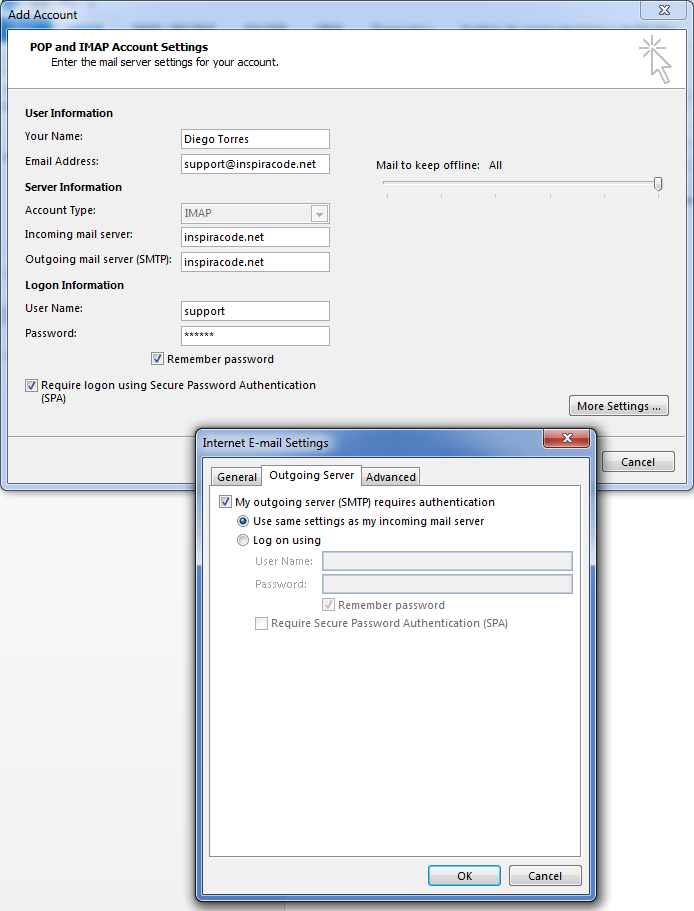
Now we configure outlook to use this account:
- Open outlook and goto file >> add account
- Select "Manual setup or additional server types"
- Select POP or IMAP
- Select the account settings for your new installed account, including the server, user and password:
- Select the more settings option and setup the outgoing server to be authenticated:
- In the advanced tab of the more settings options, select the SSL encryption and the secure ports to be used:


Once completed, when you click next, you will receive the connection test results from outlook:
Now you can check your email using Outlook.
Keep tuned because in an the next post we will configure webMail client using RainLoop.
--D

No hay comentarios.:
Publicar un comentario